Getting Started
Note
FeatureScripts are only available inside Onshape part studios - not assemblies or drawings.
Steps for adding FeatureScripts to your toolbar
Open any Onshape document, then open any part studio you can edit.
Open your FeatureScript dropdown by clicking on
 in the rightmost part of your toolbar.
Choose Add custom features to open the Add custom features menu.
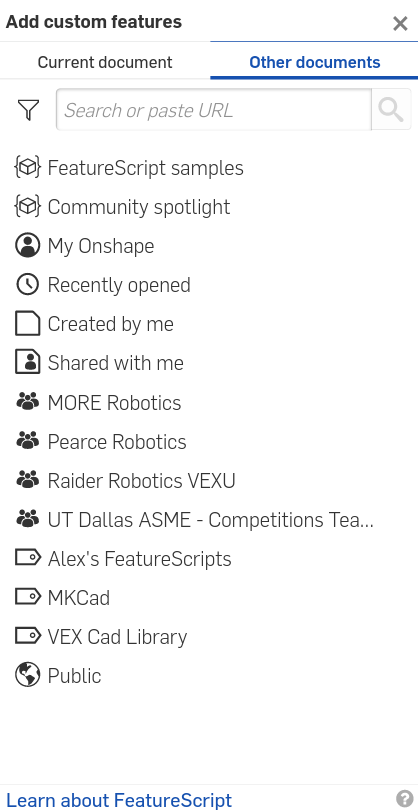
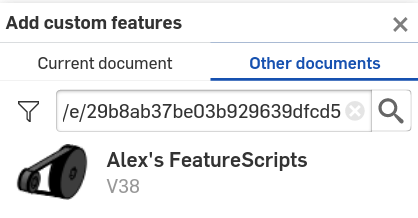
Paste a link to an Onshape document containing one or more FeatureScripts into the top search bar of the Add custom features menu.

Click
 or press enter.
Click the document which appears.
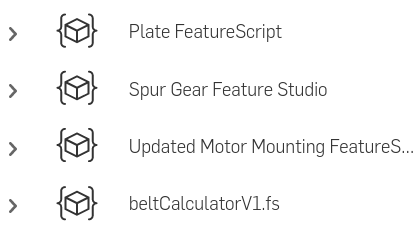
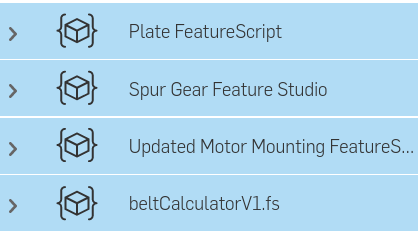
A list of one or more feature studios should appear. Click each desired FeatureScript to add it to your FeatureScript dropdown, which will cause it to turn blue.
Click
 to close the Add custom features menu.
Tip
Once a FeatureScript has been added to your FeatureScript dropdown, you will be able to use it in every part studio you open.
Steps for using FeatureScripts
Open your FeatureScript dropdown by clicking on
in the rightmost part of your toolbar.Choose a FeatureScript you’ve added from the list of FeatureScripts. An instance of the FeatureScript will be added to your feature tree and allow you to begin making changes.
Once you’ve finished making changes, click
 .
.