Assembly mirror
Assembly mirror facilitates the assembly of parts by adding mate connectors to parts which allow instances of those parts to be quickly placed in mirrored positions in assemblies.
Important
Since FeatureScripts cannot be used directly in assemblies, the Assembly mirror feature cannot create transformed copies of parts directly inside assemblies. Instead, the Assembly mirror feature works by adding mate connectors to parts inside part studios which allow copies of those parts to be assembled into mirrored positions later on.
The Assembly mirror FeatureScript can be found here: Assembly mirror document
Steps for creating mirrored parts
Create an Assembly mirror feature by selecting it from your FeatureScript dropdown.
Specify your desired result behavior (Part center or Origin).
See also
Result behavior for more information.
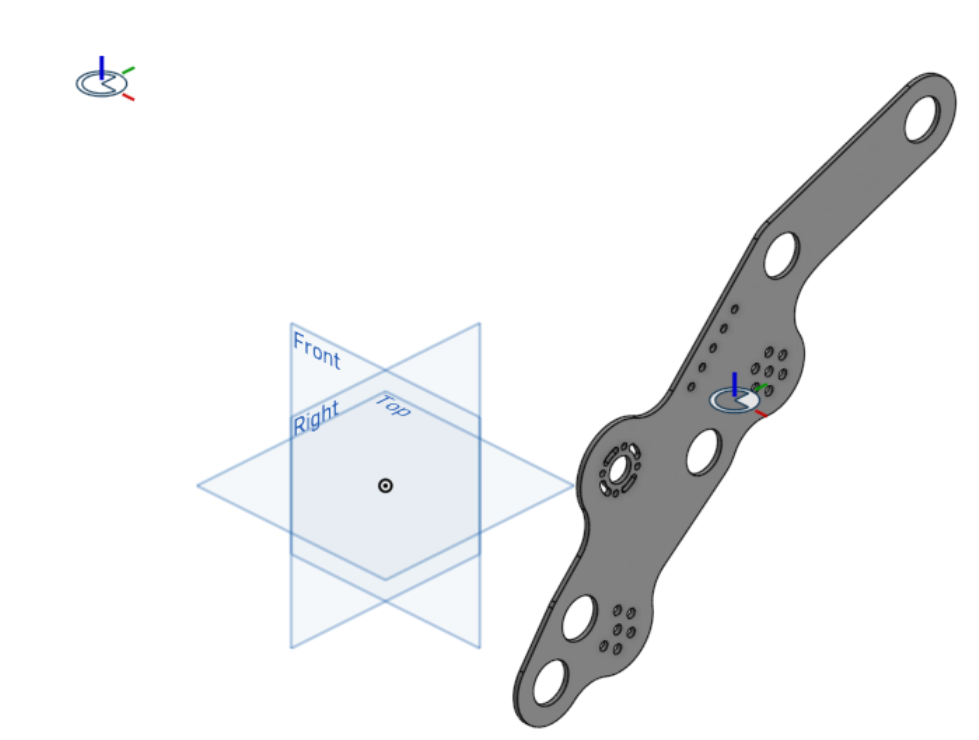
Select one or more Entities (parts or surfaces) to find transforms for.
Select a Mirror plane to mirror about.
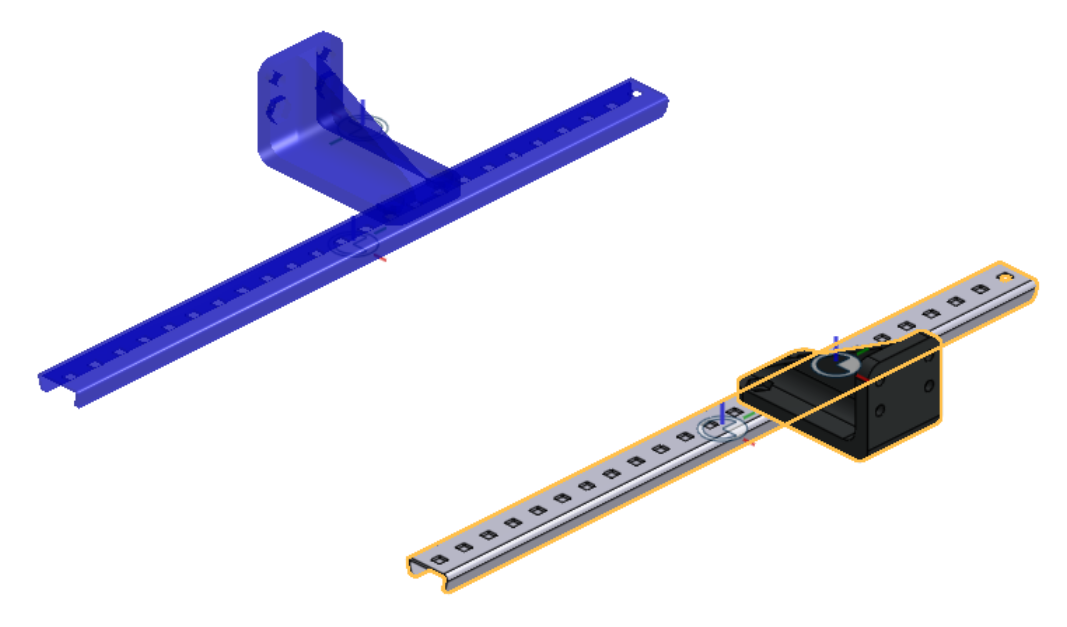
The Assembly mirror feature will automatically try each possible transform type (Linear, Z axis, Y axis, X axis, and Mirror) for each part and select the one that matches a part to its mirror image.
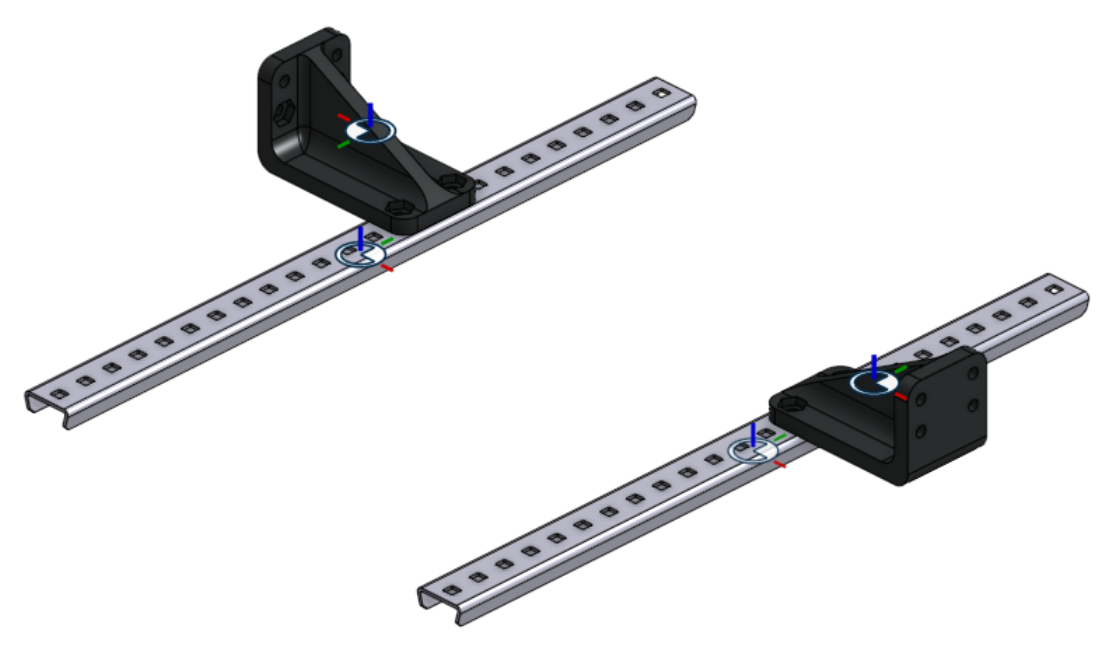
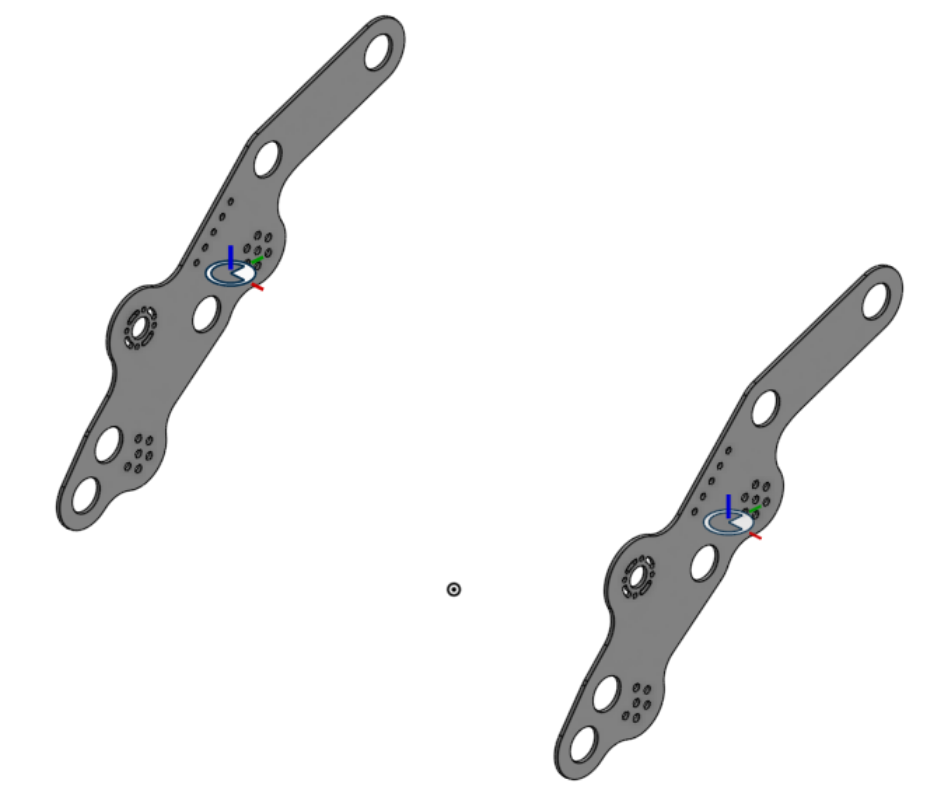
If a valid transform is found, the transform type of the part will be updated with the valid transform, a mirror image of the part will be shown in blue in the graphics window, and a mate connector which can be used to assemble the part in the location of its mirror image will be created.
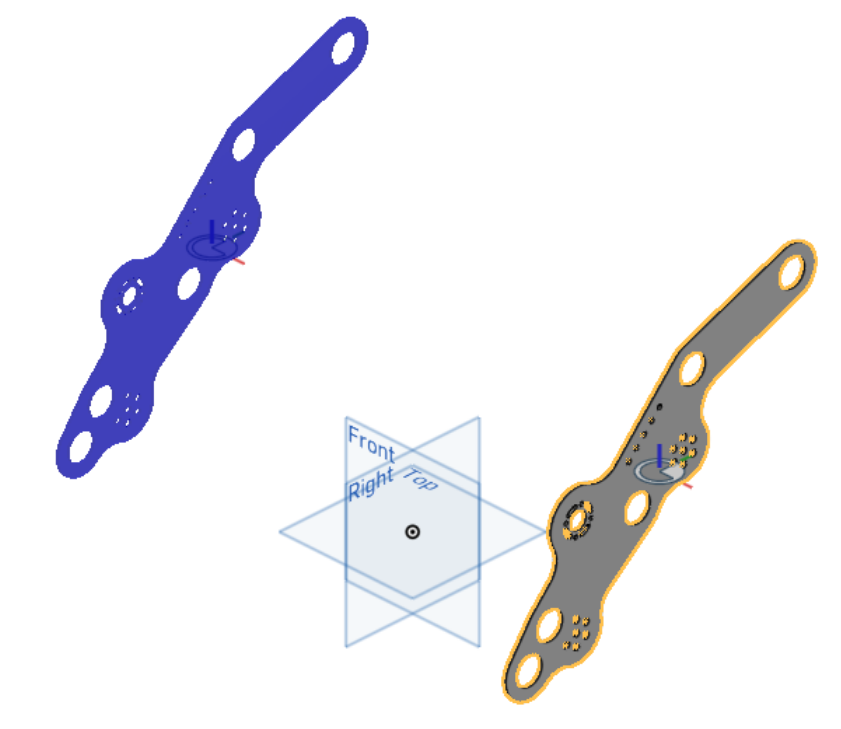
Otherwise, the transform type of the part will be changed to Mirror, and a mirrored copy of the part will be created.
Warning
Since Assembly mirror cannot compute surface transform types automatically, the transform type of surfaces will always default to Mirror and will need to be changed manually.
Note
The transform type will only be computed automatically when a feature is first selected. If you make changes to the part later on, you may need to reselect the part or update the transform type manually.
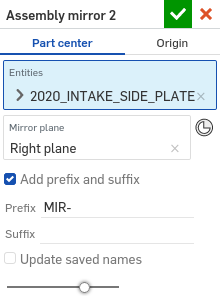
Choose whether to Add prefix and suffix to the mirrored versions of entities.
If Add prefix and suffix is selected and the name of the part is changed, the name of the mirrored part may not update to match the change. This can be fixed by selecting Update saved names, and then Confirm, to update the internally saved names of every part
Click
 .
.
Steps for creating mirrored parts using preselections
Before creating an Assembly mirror feature:
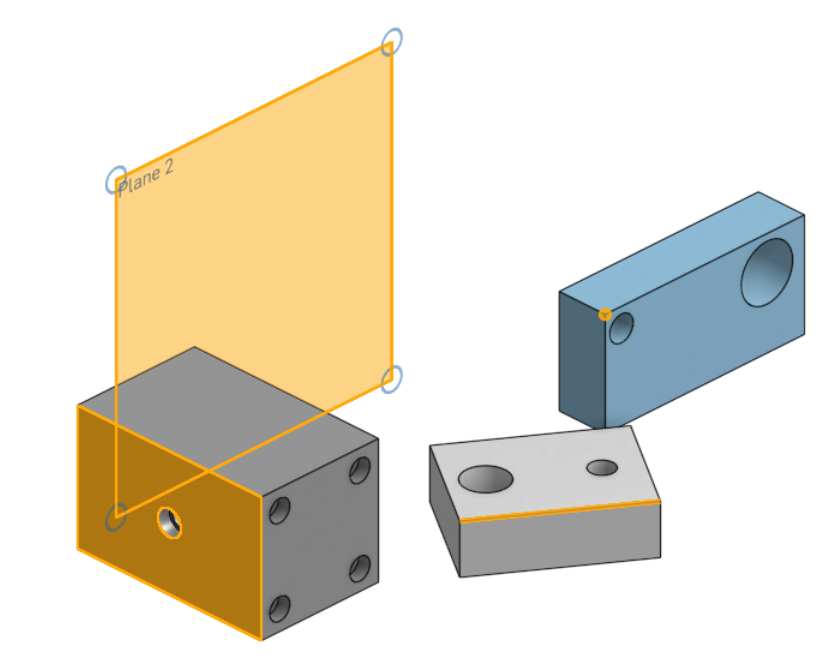
Pre-select a Mirror plane and one or more Entities to mirror by either:
Selecting parts and planes directly from the feature tree or parts list
Selecting geometry (edges, faces, or vertices) in the graphics window which touch the entities you’d like to use
Create an Assembly mirror feature by selecting it from your FeatureScript dropdown.
The Entities and Mirror plane parameters are filled in automatically according to your preselections.
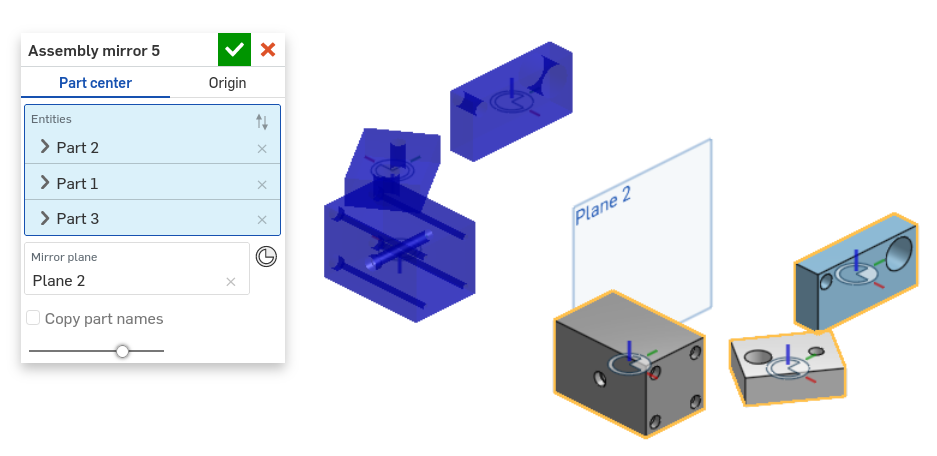
Specify additional parameters as needed.
Click
.
Tip
Several native Onshape features also support preselections. For example, the Onshape Plane feature will automatically switch to Line angle mode if you select a plane and a line prior to creating the feature.
Result behavior
Assembly mirror offers two options for locating mirrored parts; Part center and Origin.
Part center: Mate connectors are created such that entity mirrors are aligned when their center mate connectors are fastened together.
Origin: Mate connectors are located relative to the world origin, so mirrors are aligned when their mate connectors are fastened to the part studio origin. To assist with this, care should be taken that the assembly origin matches the part studio origin.
Tip
When using Origin, make assembling faster and more robust by createing a mate connector at the assembly origin and selecting it via the Mate Features list.